Five Foot Rumford at Whistler
with concrete chimney

|
Maric Designs Specialized Masonry and Architectural Concrete #12 - 2120 Nordic Drive Whistler, BC Canada V0N 1B2 604 966 8108 Alt Phone: 604 902 0808 Robert and Edward Maric 1/18/15 A sneak peak before the professional photo's are published. A 5' modified Rumford encased by board-face architectural concrete. The hearth is constructed from large flamed basalt slabs. The coursed stone wall seen in the background is constructed from Rundlestone. Big thanks to Kindred Construction for letting us help with this amazing home. Architectural design by Openspace Architecture.
|

|
Subject: RE: Modified Rumford Fireplace From: "Bill McEwen" Date: Mon, May 20, 2013 9:18 pm To: rob@maricdesigns.com -------------------------------------------------------------------------- Hi Rob, Thanks for the photos - it looks like a beautiful job - we'll know who to refer any Rumford enquiries to. From the photos it looks like the ceramic paper was a an effective approach. I'd like to see photos of the finished project.
Cheers,
Executive Director
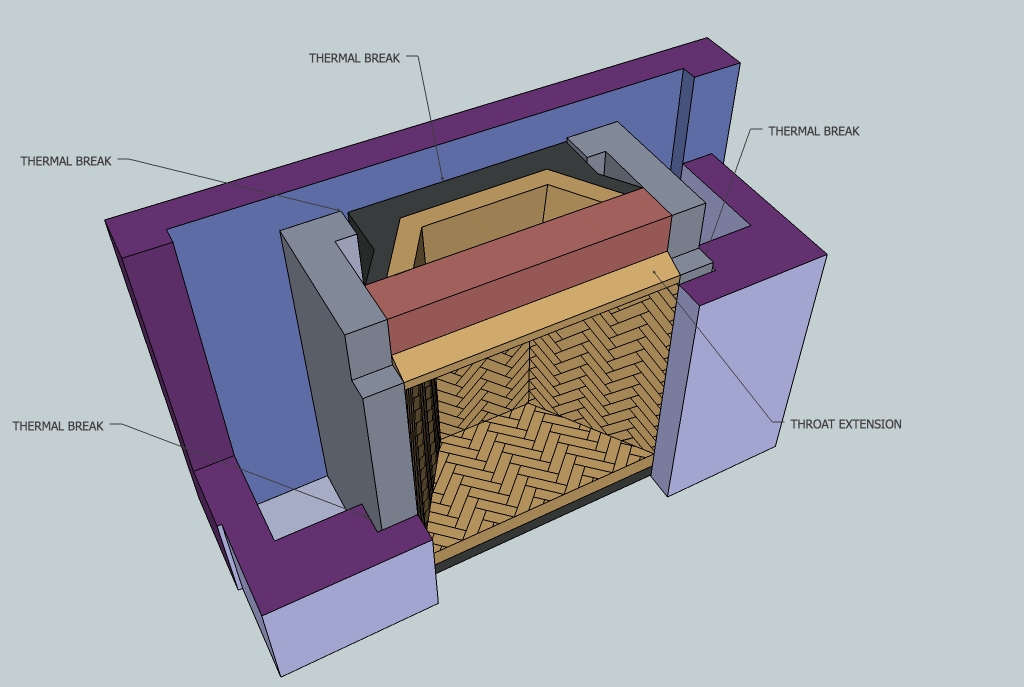
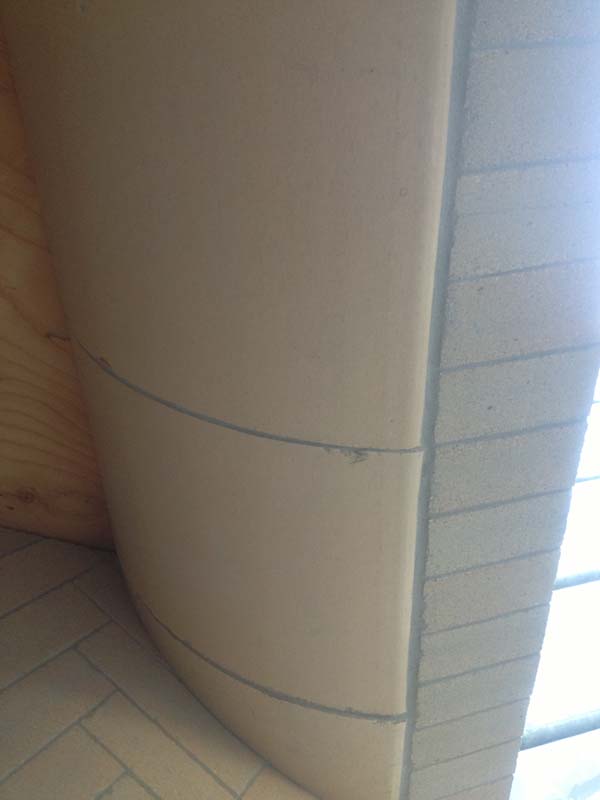
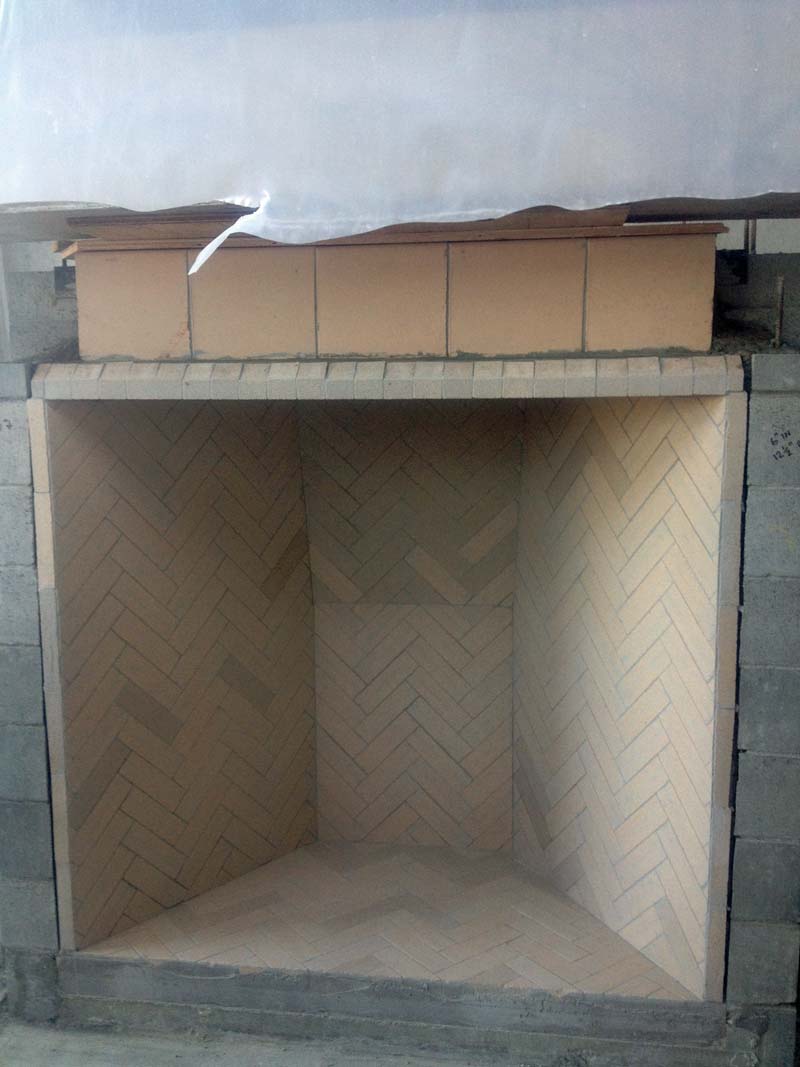
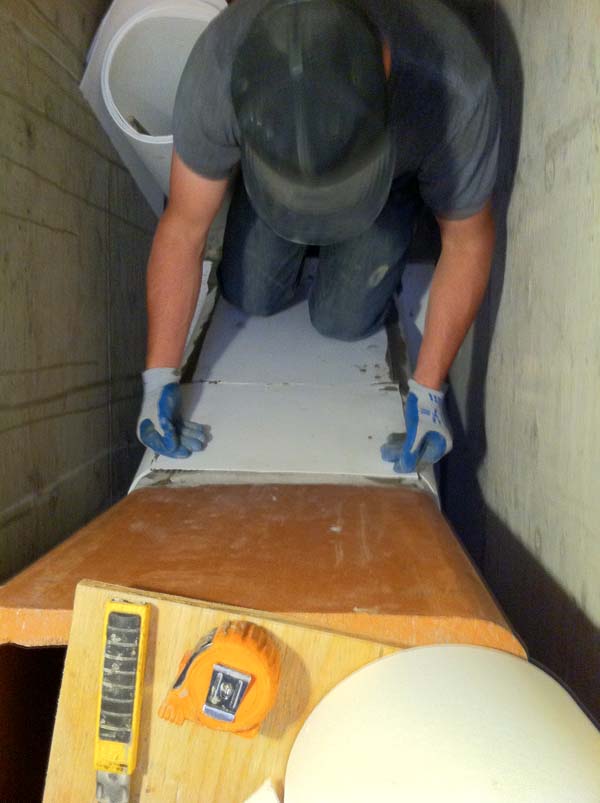
-----Original Message----- Hi Bill- as promised, here are the modified rumford images of the work we are doing in Whistler. As per our last conversation, regarding the ceramic paper, I just wanted to know if you are OK with us using the paper in lieu of the airspace. The ceramic paper will be built up to a 1/4" thick and 3/8" thick at the flue and smoke chamber joints. This will more than compensate for a bond break and the thermal expansion experienced by heated flues. Also, I can see this system being stronger under seismic loads. Best wishes, Rob Maric (604) 966 8108 Modified Rumford Build Image 1, 2- as per the architect's request, a modified Rumford was designed to accommodate a deeper firebox, and a sloped fireback. Because we were cramped for space, a 3D model was created to depict accurate measurements. This also helped with our firebrick layout. The joints flowed from the inner hearth, up the fireback, and continued out through the coves. Image 3, 4- it was quite cool when we started construction, and the hoarding was not built yet. We decided to construct an 8" thick precast inner hearth so we could drop it in place when the hoarding was ready. Great idea if you have the manpower. The unit weighed approximately 400+ kg (900+) lbs. The hearth was constructed in a shop, and then set in a full bed of mortar on site. Note- hydraulic refractory mortar was used to set the firebrick, segmented throat, throat extension, smoke chamber, damper, and flues. Mention has to be made on how difficult it was to obtain this type of mortar in B.C. Considering the many exterior fireplaces that are constructed, and the weather conditions we have, I found it surprising that no one stocked hydraulic refractory mortar. We had to order it in. Image 5- the base for the backup masonry was constructed out of block and filled with concrete. The layout allowed for a 1" airspace behind the firebox to act as a thermal break. The sides of the backup masonry were constructed out of 200mm (8") bondbeam block, grouted solid with concrete. The abutting architectural concrete, that was to be formed later, was built with a 1" knockout to allow for expansion, and act as a thermal break. See image 1. Image 6- jumbos were used for the backup masonry on the firebox walls. This made the walls of the fireback and coves 200mm (8") thick. Image 7- right cove completed. Our shipment for the flues was unexpectedly delayed, so we had a bit of time on our hands. We opted not to use the cove extensions that came with the Rumford kit, and instead we chose to extend the coves using the herringbone pattern. A template was constructed and each abutting brick was hewn to accept the segmented throat units. This took a little more time, but it was worth it for aesthetic reasons. Image 8- the corbelled fireback section was kept true with the aid of a straight edge set on top of the coves. Image 9- after the firebox was completed, the jumbos, comprising the firebox walls, were set to the height just under the throat. Also, we continued up with the 200mm reinforced side backup masonry, except on the last course, only the imposts for the throat angleiron were set. We did this so we could have access behind the throat-cove joint. After the throat was set. The void between the throat and cove was filled with hydraulic refractory mortar and firebrick wedges, making the joint over 75mm (3") thick. See Image 13. Subsequently, all backup masonry was completed to come flush with the top of the throat. Image 10, 11, 12- depicts the throat-cove joints, and the throat extension. The throat extension, held in place with a 50mm x 50mm (2" x 2") angleiron, helped create a deeper firebox. The headrow course was notched from behind to accept and hide the angleiron. Image 13- the segmented throat was grouted solid. Image 14- the outside terminations of the coves were fitted with firebrick wedges and set in refractory mortar. This made the edges more durable so that the carpenters could form and vibrate the architectural concrete without damaging the corners of the firebox coves. Image 15- we set the damper and pinned it to the backup masonry. Image 16- the smoke chamber and first flue were set. We couldn't build up any higher because we needed to stay below the first lift of the architectural concrete. Image 17- the ceramic paper laps were set in a thin bed of thinset. This made the process efficient, less wasteful, cleaner, and insured that the concrete backup, when vibrated, would not peel back the ceramic paper. Image 18- the second layer of ceramic paper was set. Image 19- the total thickness of the ceramic paper wrapping the smoke chamber and flues is a 1/4", 3/8" at the flue joints.
|

Buckley Rumford Fireplaces
Copyright 1995 - 2015 Jim Buckley
All rights reserved.
webmaster